Resin Earrings
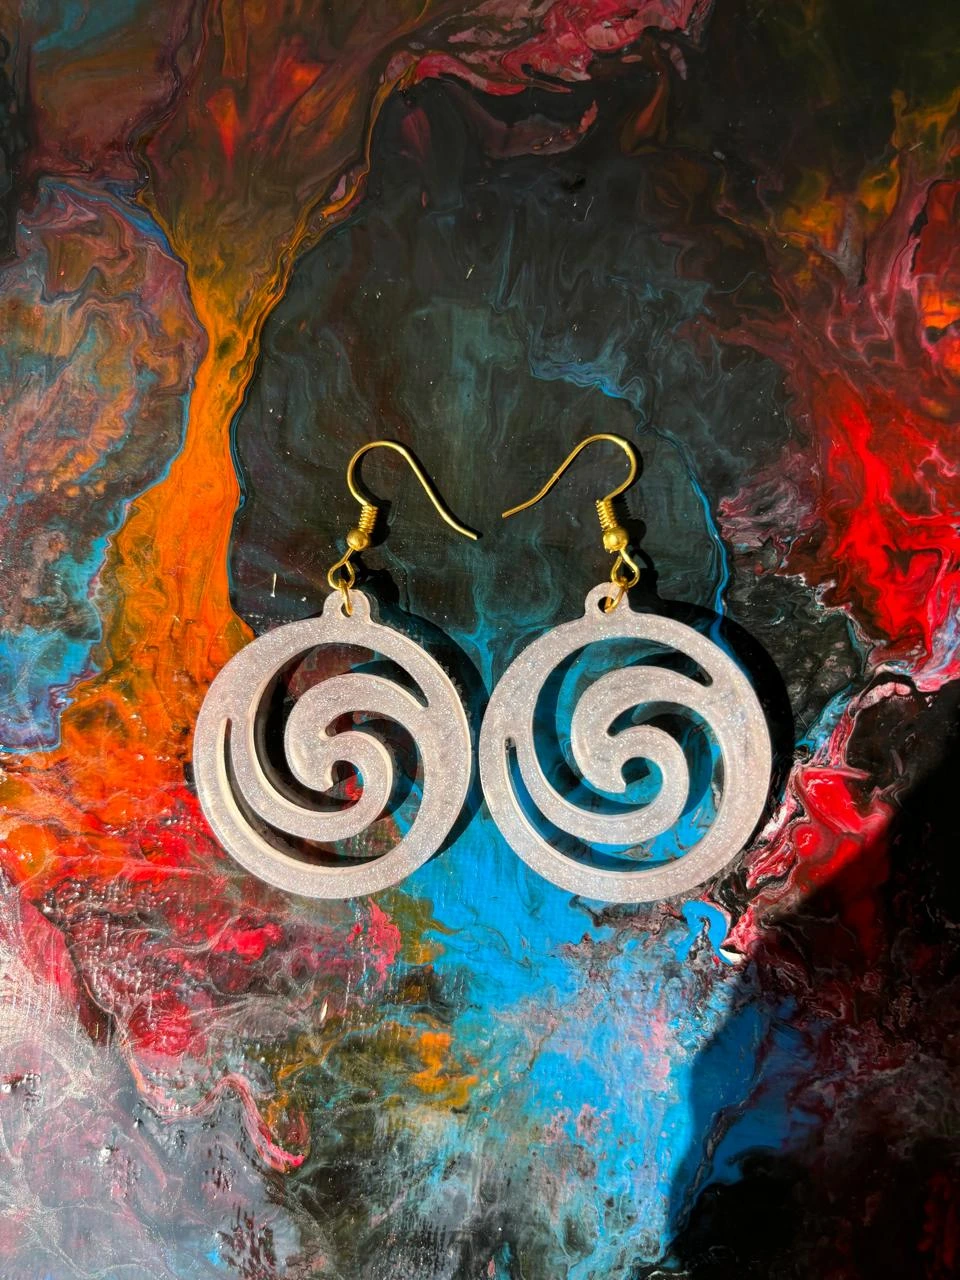
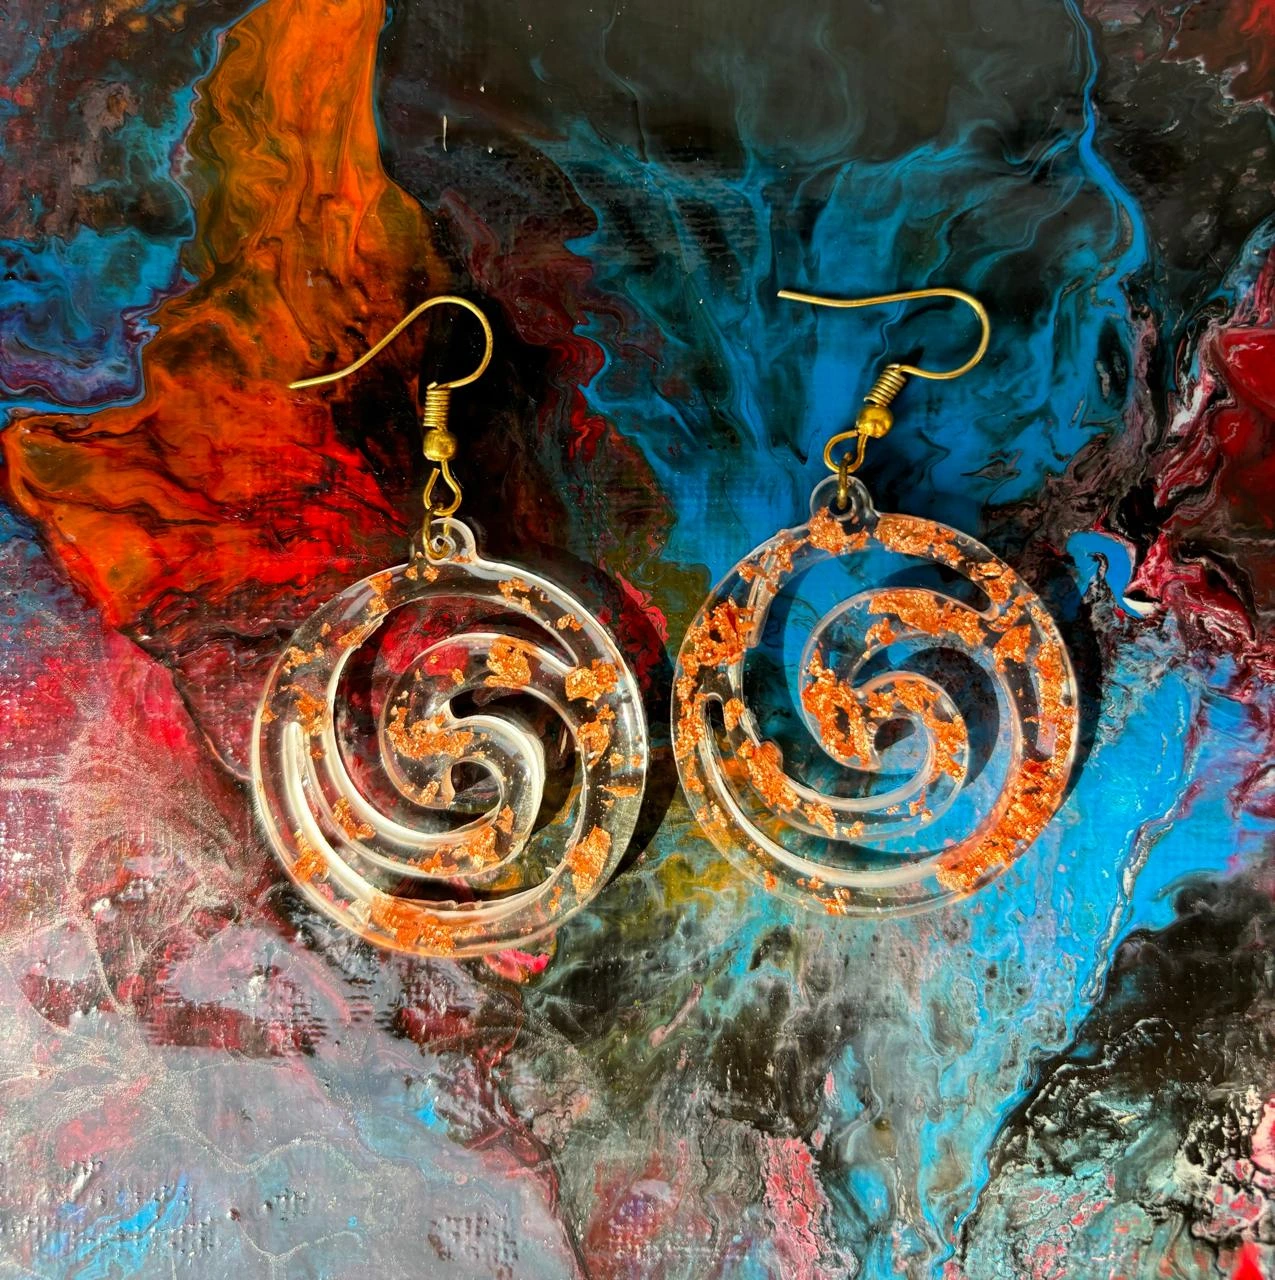
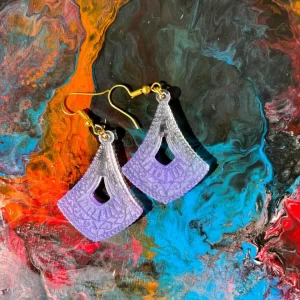
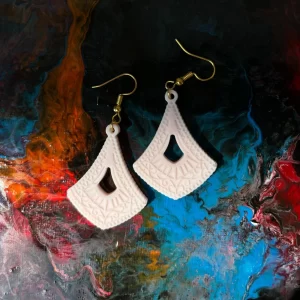
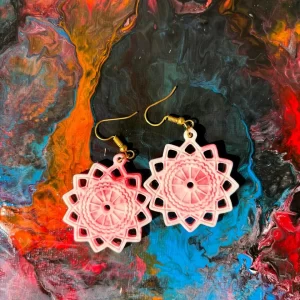
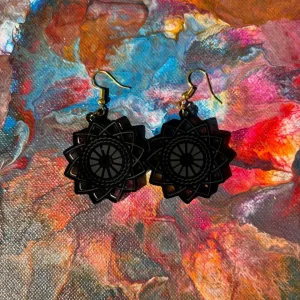
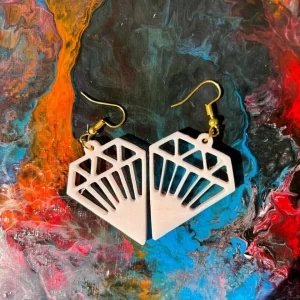
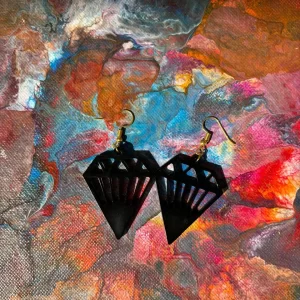
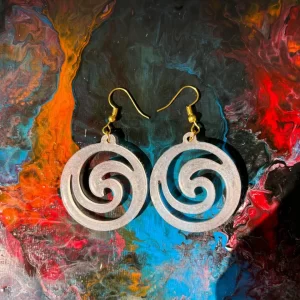
Resin earrings with different colors and designs and shapes it is perfect for every dress and it also customized on dress color.
Resin earrings are a type of jewelry crafted by mixing and curing epoxy resin in small molds to create unique, custom designs. These earrings can be made in various shapes, sizes, and colors, allowing for endless creativity.
The beauty of resin earrings lies in their versatility—creators can encapsulate vibrant pigments, glitters, dried flowers, metallic flakes, or even tiny charms within the resin to achieve different aesthetic effects. Resin gives the earrings a high-gloss, glass-like finish that enhances the colors and decorations, making each piece look elegant and eye-catching.
Resin earrings are lightweight, comfortable to wear, and durable, thanks to the strong, cured resin. Whether in bold geometric shapes, soft floral styles, or classic drops and hoops, resin earrings add a unique, artistic touch to any outfit, making them popular both as statement pieces and as subtle, minimalist accents.
Creating resin earrings can be a fun and creative project with endless design possibilities! Here’s how you can make them:
Materials Needed:
- Epoxy Resin and Hardener
- Silicone Molds (specifically for earrings, such as geometric shapes, circles, or drops)
- Protective Gear (gloves, mask, and goggles)
- Mixing Cups and Sticks
- Pigments, Glitters, or Dried Flowers (for decoration)
- Jewelry Findings (earring hooks, jump rings, and jewelry pliers)
- Toothpicks (to place decorations precisely)
Steps:
- Prepare Your Workspace: Choose a well-ventilated area, cover your surface with plastic or parchment paper, and wear protective gear.
- Mix the Resin: Combine resin and hardener in a cup as per the instructions, mixing slowly to avoid bubbles.
- Add Colors and Decorations:
- Color Pigments: Add mica powders, alcohol inks, or liquid pigments for color. Stir gently to achieve the desired shade.
- Add Glitters or Flowers: Mix glitter into the resin, or use a toothpick to position small dried flowers or metallic flakes in the mold.
- Pour into Molds: Carefully pour the resin into your silicone molds, filling them up. Use a toothpick to move elements around if needed.
- Remove Bubbles: Use a heat gun or small torch briefly over the surface to pop any bubbles that rise.
- Curing Time: Let the resin cure in a dust-free area. This typically takes 24 hours but depends on the brand of resin. Avoid touching during this time.
- Demold and Attach Findings: Once cured, pop the earrings out of the molds. Use a small drill (if needed) to create holes for jump rings, and attach earring hooks with pliers.
- Finish and Polish: For extra shine, lightly sand and buff the edges if necessary.


Reviews
There are no reviews yet.